24/7/365 Service and Support


Unlock the full potential of Microsoft SharePoint by confidently sharing your documents with both internal and external stakeholders. SharePoint comes equipped with robust security features, granting you control over who can edit documents, restricting download capabilities, and even setting expiration dates for shared access.
Initiate the sharing process by selecting a file or folder, then doing the following:
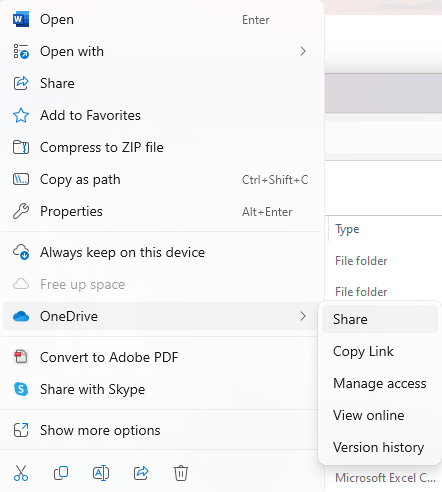
Right Click on the file or folder you want to share, then go to OneDrive -> Share
Click on the Gear to access the settings window.
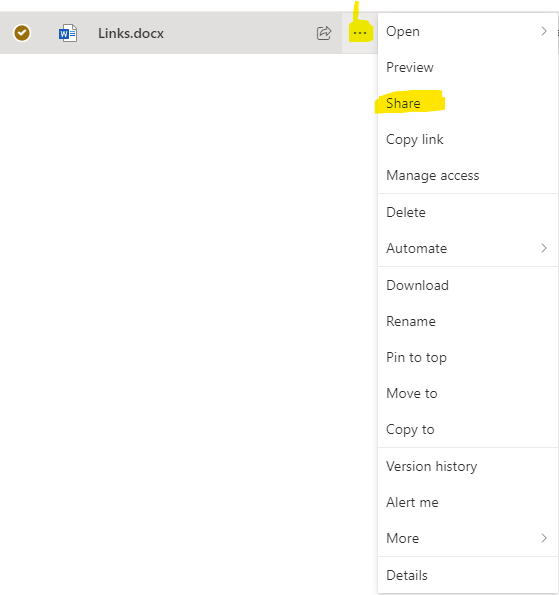
On the web SharePoint site, left click the three dots to the right of the file or folder you want to share, then click on ‘Share’.
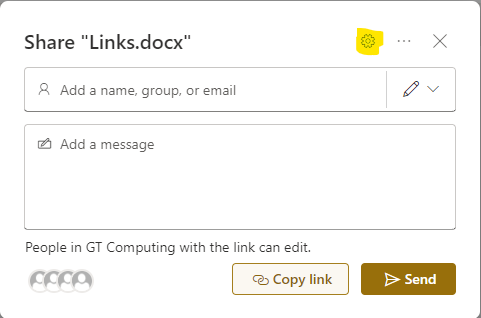
Click on the Gear to access the settings window.
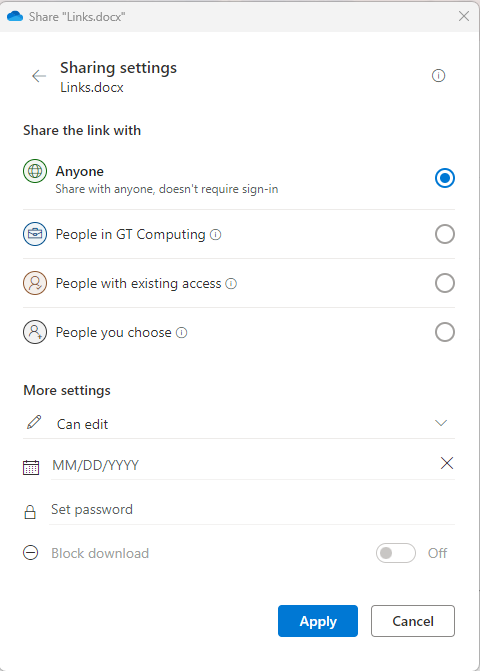
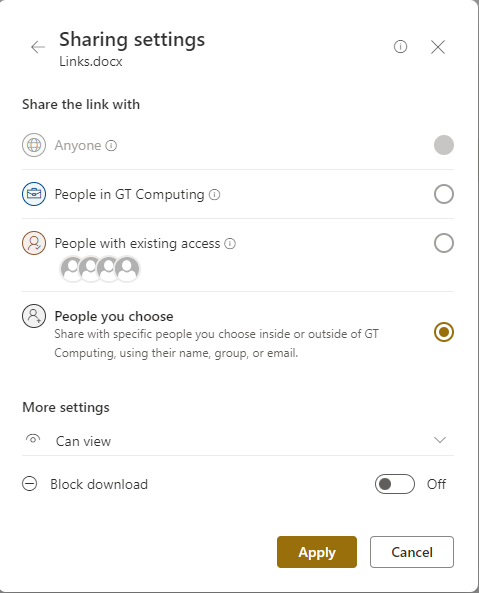
In the ensuing window, opt for the “people you specify can edit” checkbox. Choose your selection accordingly, utilizing “People you choose” for external user sharing.
Navigate to “More Settings” and make the following choices:
Utilize the expiration date feature to mitigate the risk of accidental prolonged access. Employ passwords separately from the link for an additional layer of security. Implement download blocking to ensure that files are shared exclusively with the intended users.
Proceed to share your link using either the ‘Send’ or ‘Copy Link’ options. ‘Send’ generates an email directly from Microsoft to your recipient, while copying the link allows for flexible sharing methods.
When a user no longer requires access to a file or folder, initiate the revocation process by clicking the three dots as indicated below and selecting “Manage access.”
In the subsequent window, select the three dots displayed below, then choose the ‘X’ icon to revoke access for a specific user.
If the link itself becomes obsolete, take proactive measures to revoke access and prevent unauthorized use. Select the three dots adjacent to the link, then click the ‘X’ icon to eliminate the link and its associated access.